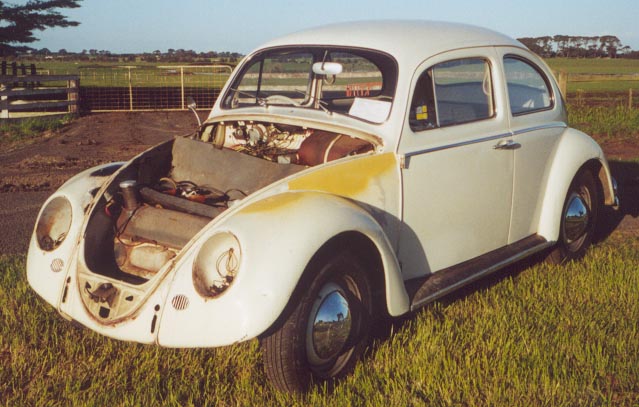
I know this isn't a good shot of the tyre well (that's later) but it does give a good general overview to help some later photos make sense.
The car is sitting on our front lawn in the shot. 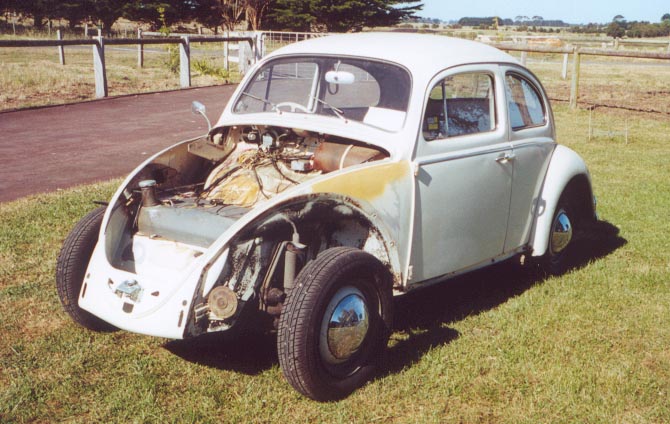
This might not look like much but to clean this up from the Black Hole of Calcutter to its current photographed state took hours of work.
As I have no sandblaster all the surface rust removal was done with a wire brush and rough sandpaper.
Don't look at the tank I have'nt got stuck into that yet. I may not for a while as it isn't rusty just stratched. As the car is first and foremost intended to be road registered as soon as possible cosmetics will have to wait. 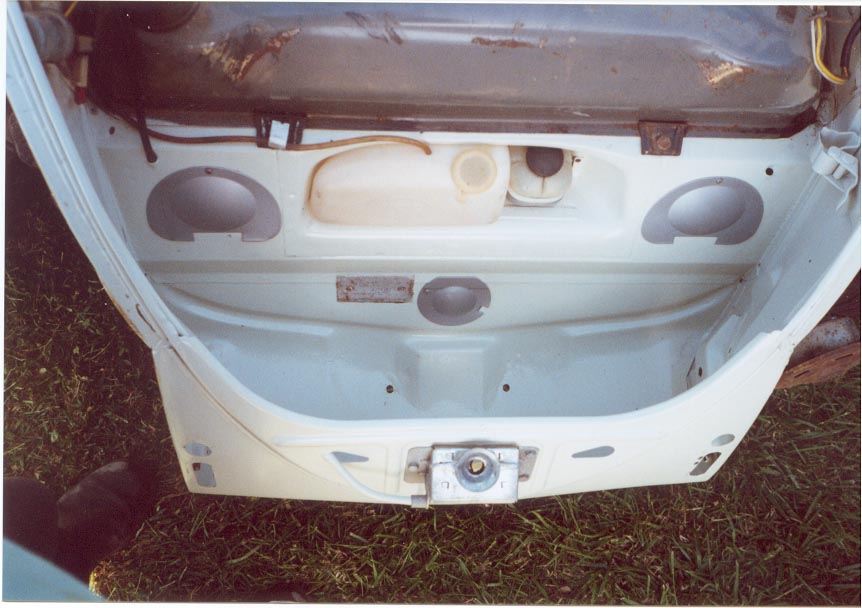
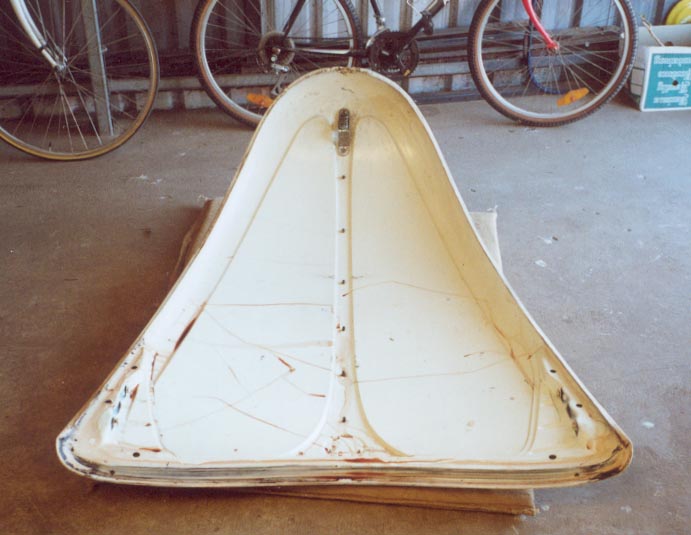
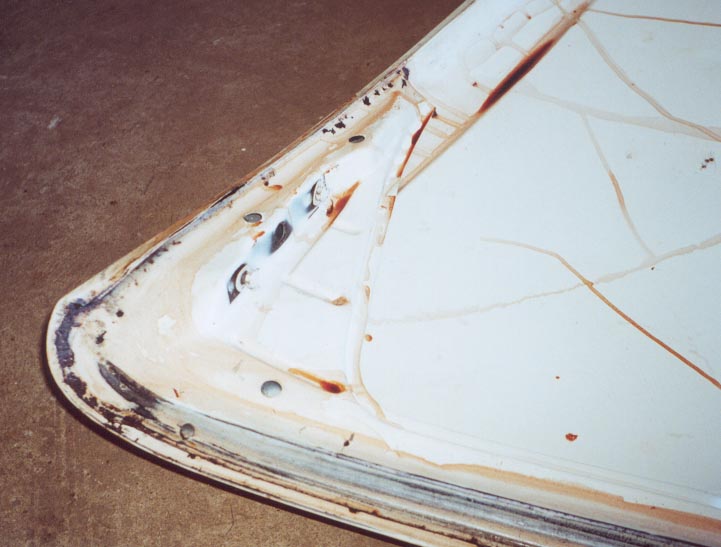
Here's my bonnet upside down on the garage floor. The black/brown marks you can see is the rust converter stuff I have been using.
The photo below shows the bonnet in more detail. You can see the pitting where rust has been quietly at work.
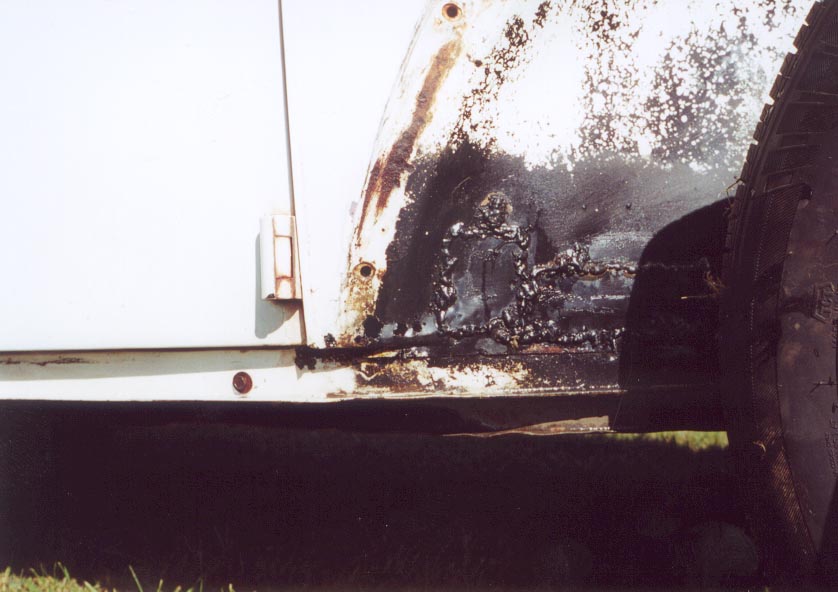
Oh Gosh! Here is where the dreaded tin worm has really been working overtime. Evidence of patching done by a friend of mine and 4 holes.
This is the worst rust that is in the entire car. I have been given an angle grinder for Christmas and will be using it here to grind down the surplus weld.
These holes were not accessible with the guard on, so as a consequence were not noticed.
The photo below (blurry as it is) shows the full extent of the patching. 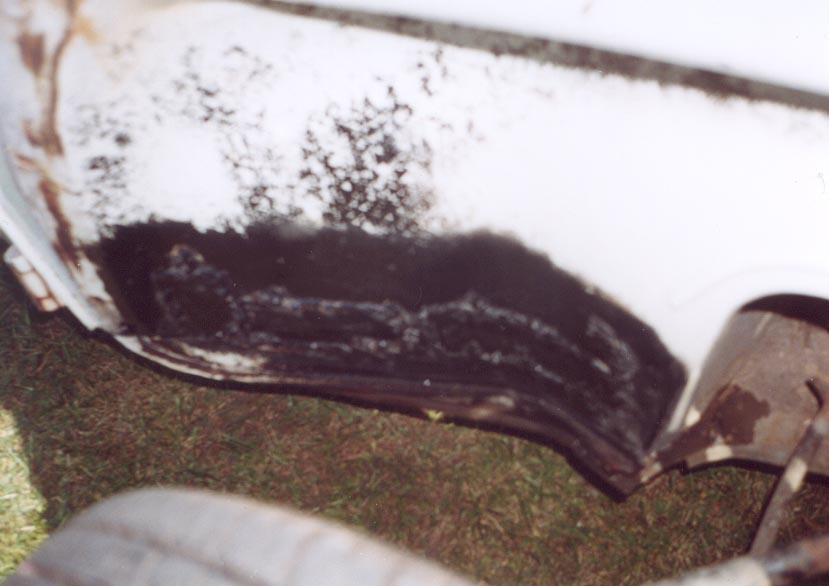
The left hand side quarter pannel is much better than the previously illustrated right hand side.
As you can see there is a small section of rust to the right of the patch. It's only surface rust. 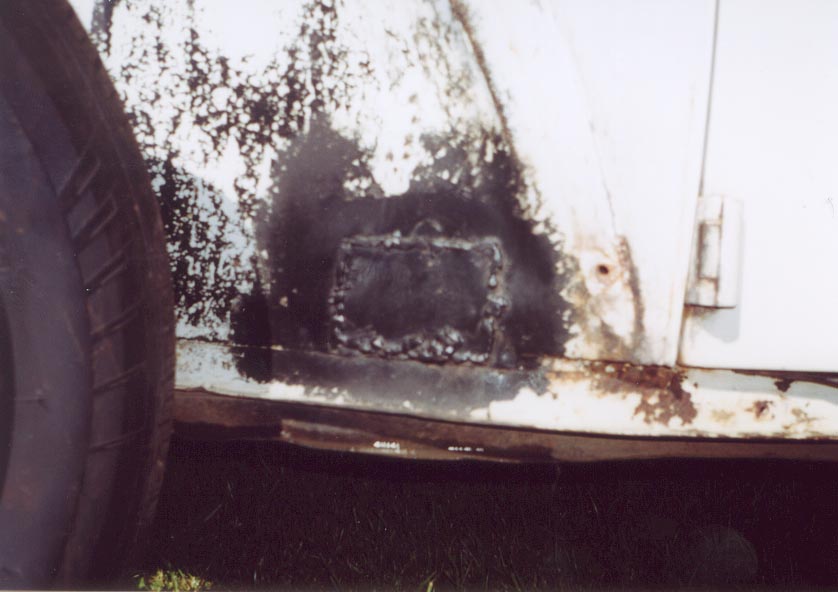
A broader view of the left hand side. The area where the guard meets the quarter panel is in places quite pitted. In this area I will be wire brush with an electric drill to rid the rust. 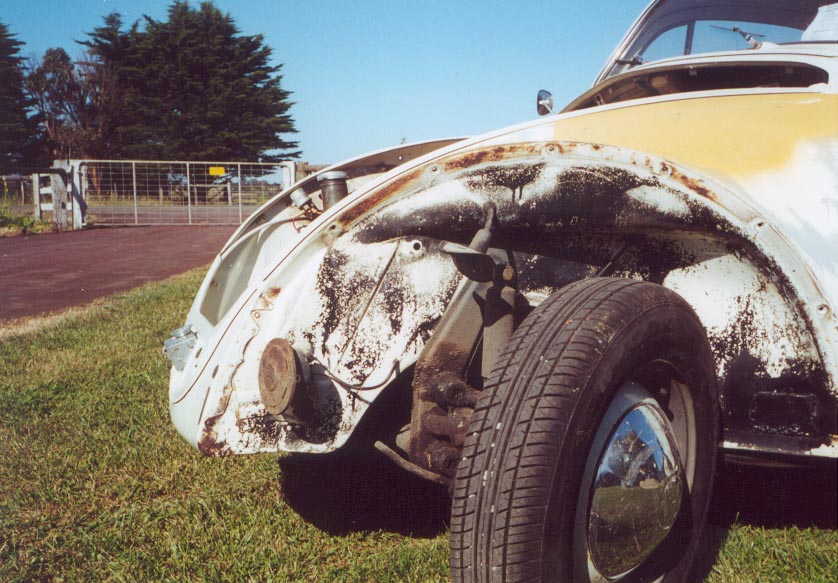
|